Showing posts with label accessories. Show all posts

Saturday, July 11, 2015

Heat Transfer Vinyl Tshirts (w/Cricut Explore)

ARE YOU READY FOR SOME FOOTBALL!!?? I know we are more than a month away, but football camp and 7 on 7 season is here. What better way to support our son/brother than to sport his school colors/player's number? These only took a couple of hours using the Rhinestone Wizard, my Cricut and my handy dandy heat press (I'm so glad I have this -- it really speeds up the process). However, you could totally do this project with just a cutter and vinyl.

I used magic templates from The Rhinestone World and then imported the design into design space (for the football designs). I was really afraid that the font for the stadium seat wouldn't cut or weed properly, but it actually turned out easier than I thought - plus since its a grunge type font no would know if a piece was missing. :) Anyway, a super fun way to kick off the "early" football season! As for the wild-card shirt in the photo...I also pressed a track shirt for my hubby that was LOOOONG over due.


Toodles!


Tuesday, December 30, 2014

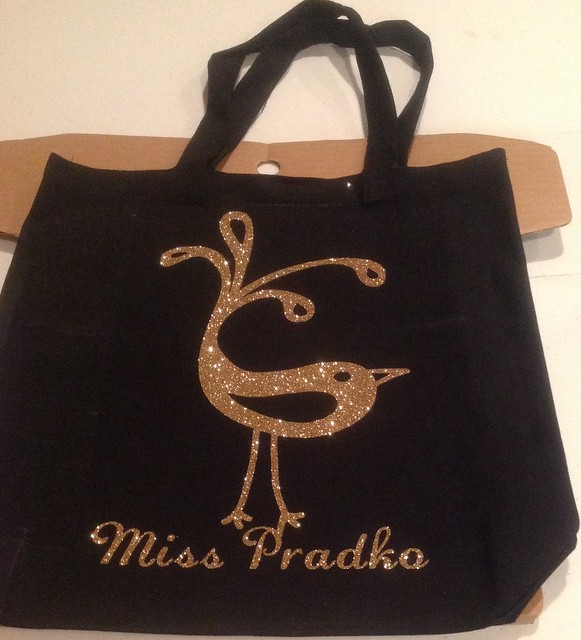
Two tote bags using the Cricut Explore!

Its been a while so I figured I'd better catch you all up on what's been going on in my world! I made quite a few handmade gifts, but in my haste I forgot to take pictures of many of them! Arrggh! However, I did take pictures of these super cute bags that I made for my secret santa and for my child's teacher. They were both super easy to make with my Cricut Explore (it took me about 20 minutes to make both bags)!

The first bag was made by using an existing graphic from the Cricut subscription library and then using a rectangle and the slice feature to get rid of the words and graphics I didn't want and then typing in the new words and inserting a basketball. I L.O.V.E. the slice feature!


The second bag was made by selecting a graphic from the library, typing the teacher's name, overlapping the two just a little and then welding the graphic andd the letters together. It sounds complicated, but it is literally just a few clicks to make this happen.


Thanks for checking out my post!


Toodles!


Sunday, January 8, 2012

Copy Cat Show and Tell

Soooo, it has been a while since I posted the Michael Kors scarf that I wanted to copy, but I finally finished it and had time to complete a quick post. 


The copy cat  version is hot pink cotton knit with a metal jean zipper (I could not find one exactly like the one on Nordstrom.com, but I think it still works). 

Basic Instructions:  I cut a double layer of fabric 8 inches wide and approximately 32 inches long.  I then cut one of the rectangles in half to make two 8"X16" pieces.  I folded under about 1/2 inch on 1 - 8" side and pinned to one side of the zipper tape.  I did the same with the other 8"X16" piece (on the other side of the zipper tape).  After which I pinned the 8"X32" piece to the zippered piece pinning along the top and sides.  I then sewed the pinned areas.  I un-zipped the scarf, turned it inside out and pressed the seams.  Although I did not end up making an infinity scarf, you can see from the second picture that it can be styled to look similar to one.


Thanks for looking!