Here is my latest sewing project! I am currently eliminating junk from my diet so my clothes sewing mojo is on hiatus until I reach my goal (with the exception of transition pieces and accessories...
I used broadcloth, 8.5 X 11 sheets of felt, assorted fat quarters, embroidery floss, fiberfill, thread,eyelets and grosgrain ribbon.
So here's the cute little doll that I made for a sweet little girl.

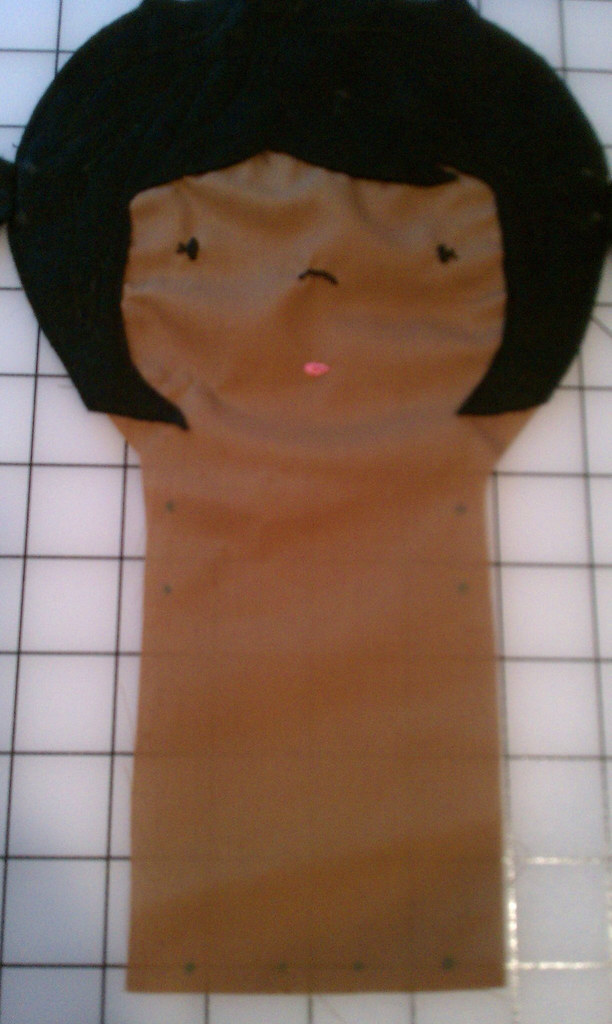
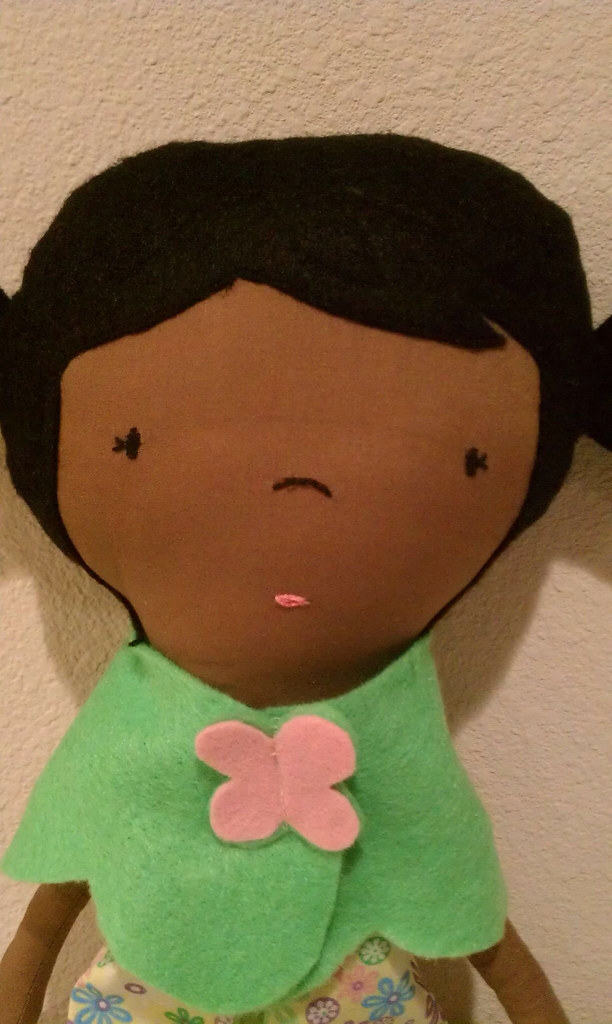
This is what the front body looks like after embroidering the face, putting on the hair and top stitching around and on top of the hair.
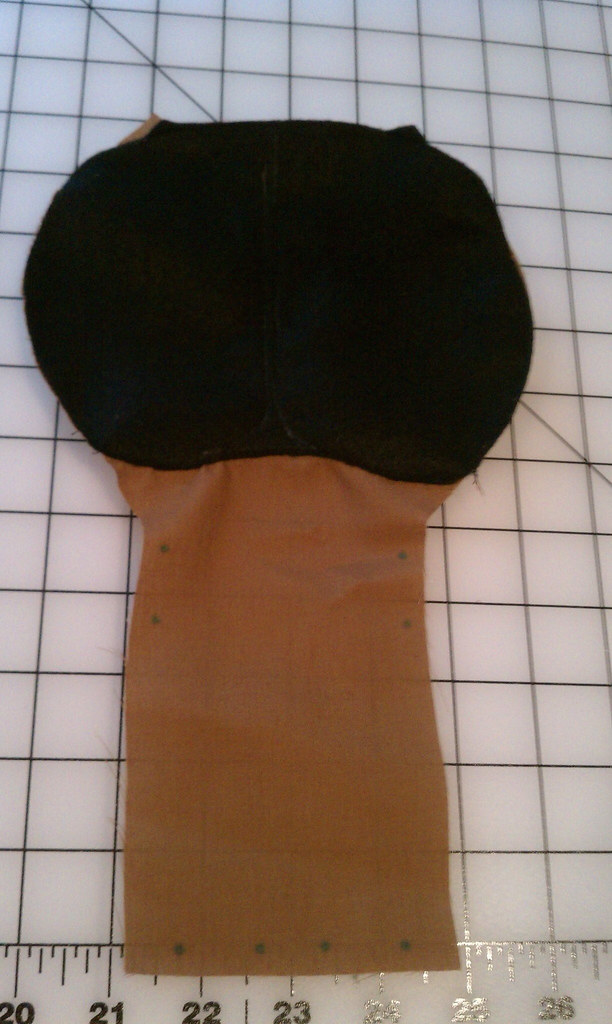
The back of the body with top stitching on and around the back of the hair.
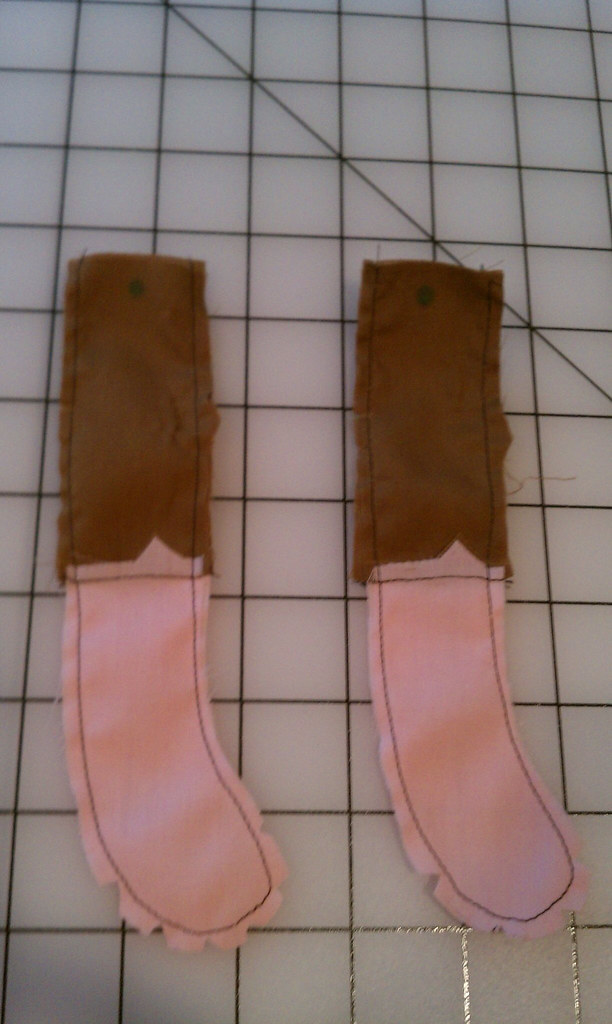
Legs and socks sewn together.
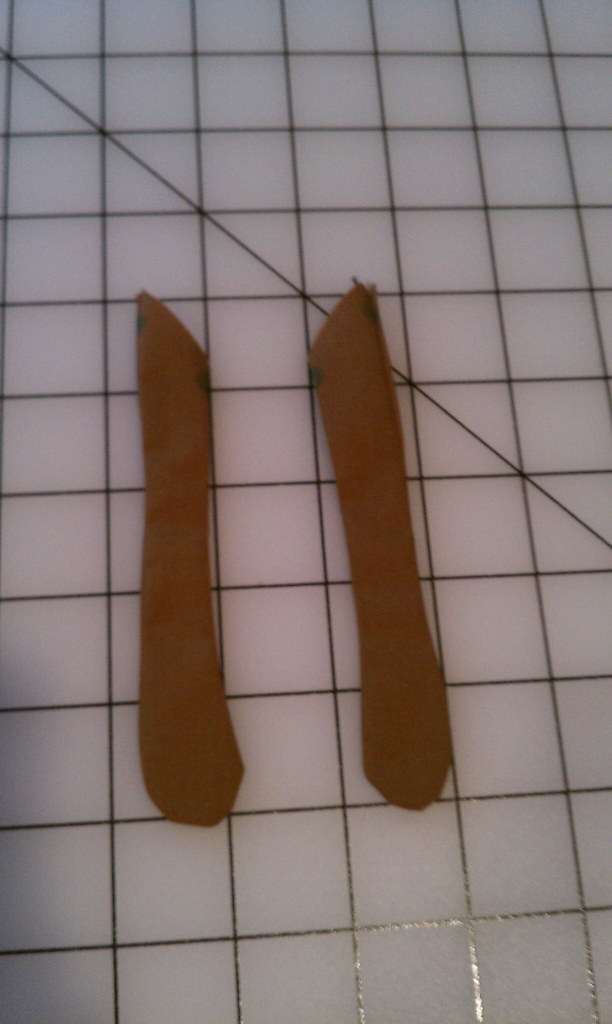
Arms sewn, turned and stuffed.
Arms and legs basted to the body front.
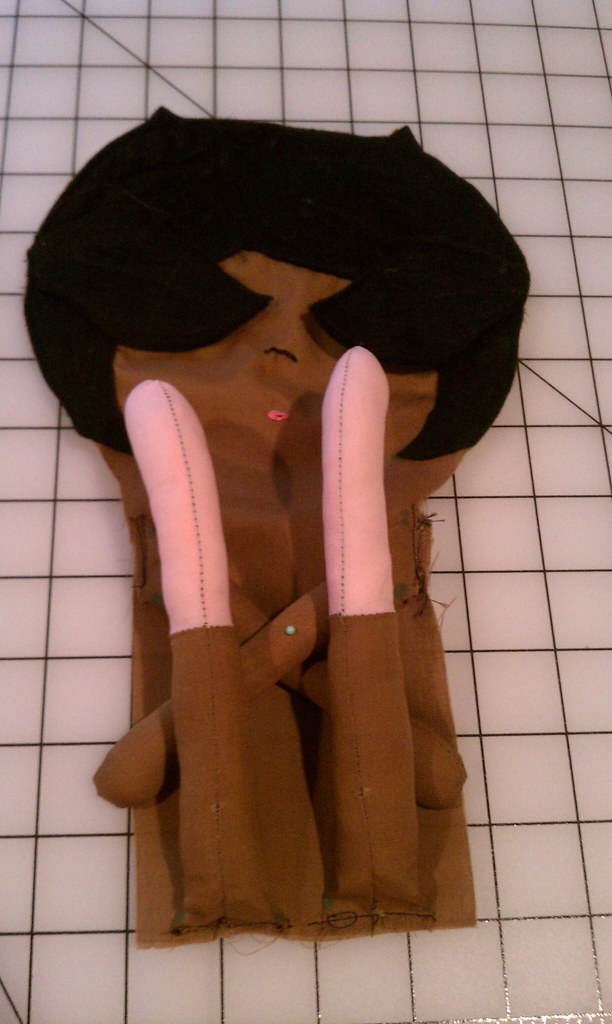
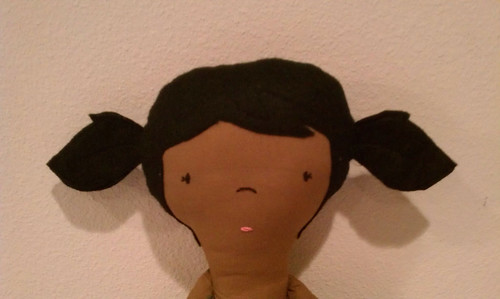
After attaching the legs and arms to the front of the body I put the back and front together (right sides together) and sewed all the way around the doll, leaving a small opening for turning. After turning the doll was firmly stuffed with fiberfill and the opening was closed using a whip stitch (not as neat as a ladder stitch, but it does give "rag doll" properties to this little cutie. Since she didn't have any clothes on I just took a head shot :).
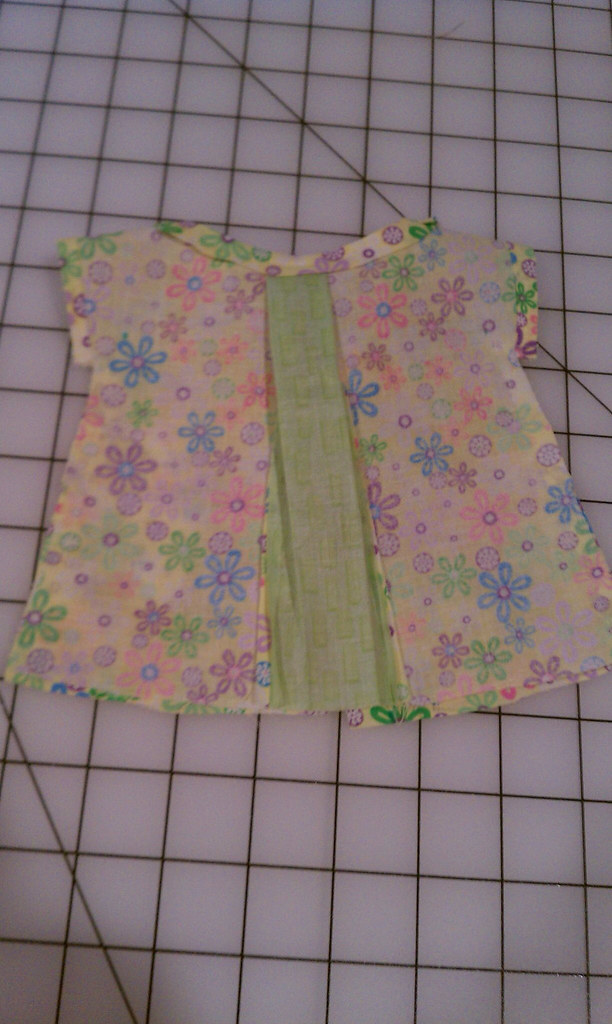
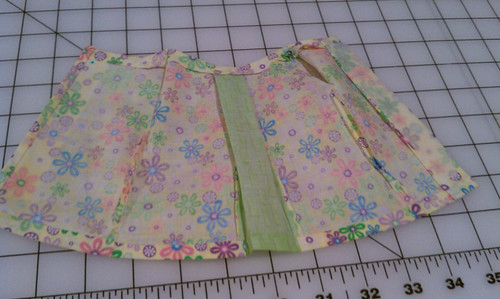
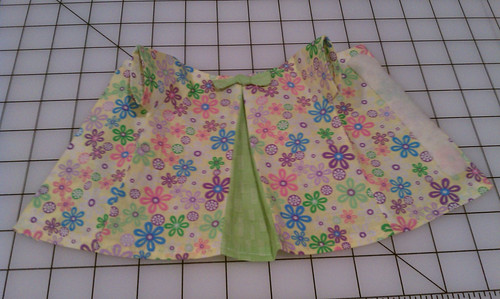
On to the clothes - this is a little A-line dress that has a front that has been separated to allow for the contrasting pleat. The arms, bottom and back closure have simple double-folded hems. The collar was finished with binding and I used heat activated hook and loop tape for the back closure. A little rectangular piece was stitched (right sides together with a hole for turning), turned, pressed, stitched closed and tied in a knot to form a bow.
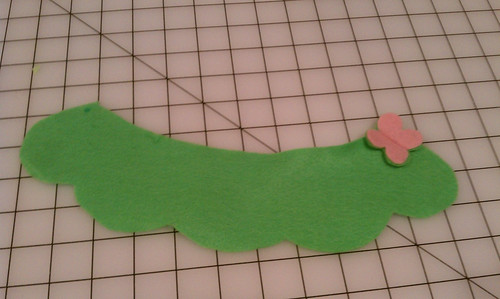
Here's the cape. It was cut out of felt. Two butterflies were also cut out of two colors of felt, folded in half and stitched very close to the fold. They were then attached to the cape by stitching along the seam that was just created. The cape's closure is also heat activated hook and loop tape.
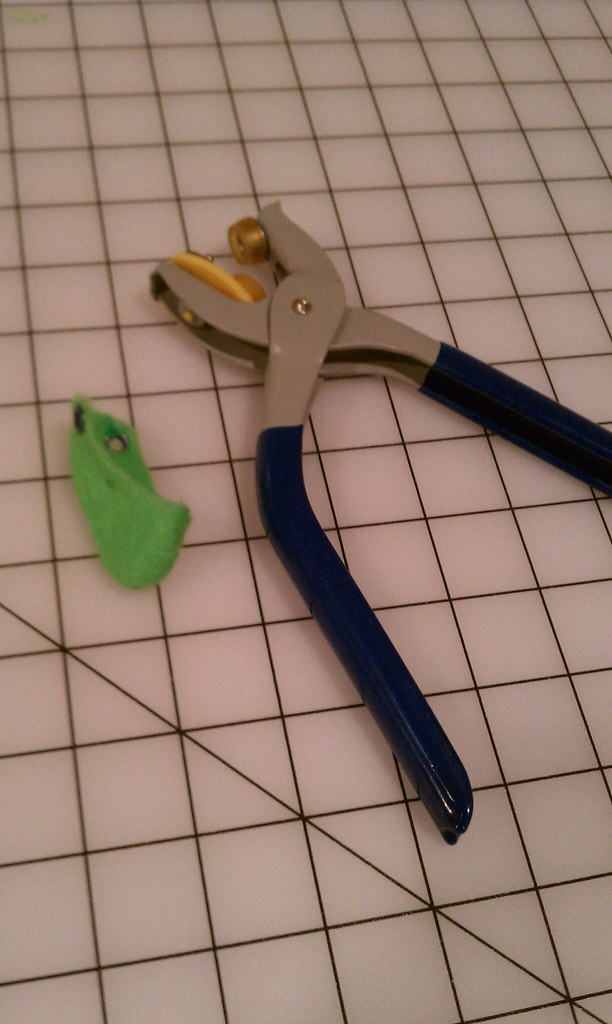
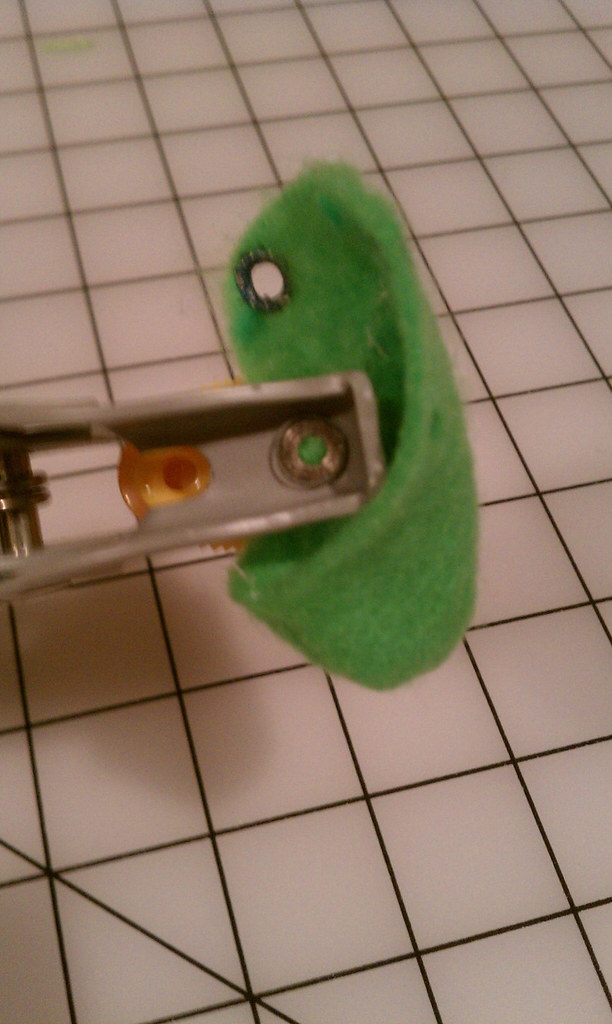
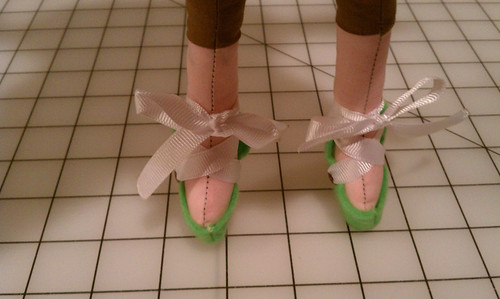
The pattern originally called for the little shoes to be closed by a loop and a button, but I thought it would be cute to make these mimic ballet slippers. To do this I inserted two sets of eyelets on each shoe, cut and sealed two lengths of grosgrain ribbon, threaded the ribbon through the slippers and tied them around the dolls feet.
Here are a few more pictures of what she looks like.

1. I should have cut the threads between her eyes (it's visible behind the fabric) or use a thicker broadcloth next time.
2. Double check to be sure that the fabric doesn't shift when sewing the back and front together.
3. Don't make the seam allowance so wide in the shoes (they went from being almost too big to almost too small!
4. Don't be lazy...I should have used pink thread for the socks (the dark thread is showing).
5. Use a contrasting color for the top stitching throughout the hair (all my nice stitches throughout her hair are practically invisible).
6. Continue to tighten up my embroidery skills (and use stabilizer next time)!
Thanks for reading my looooooooong post!
Thank you for your review. I fell in love and purchased this pattern today. I can't wait to make my own and will refer to your lessons learned when I do. She's totally adorable! I'm so glad to have stumbled onto this pattern.
ReplyDeleteHi Naomi! I'm glad that the review was helpful and that you bought the pattern! She was really fun to make. Happy sewing!
ReplyDeleteGreat job!
ReplyDeleteI bought the pattern today and hope my doll looks as beautiful as yours!
Thank you so much! I think you'll be surprised by the ease of construction. I hope you have fun making it!
DeleteBeautiful work! I've had this pattern in my sewing drawer for atLEAST a year and have lacked the courage and inspiration to go for it. Thanks so much for the post! Will attempt it... soon :)
ReplyDeleteGoodd reading your post
ReplyDelete