Showing posts with label handmade clothes. Show all posts

Wednesday, January 28, 2015

Fun with Freezer Paper!

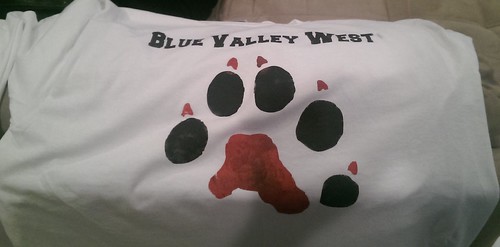
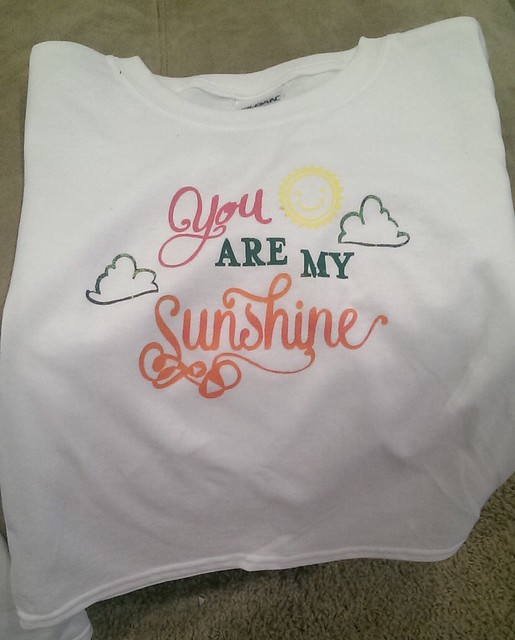
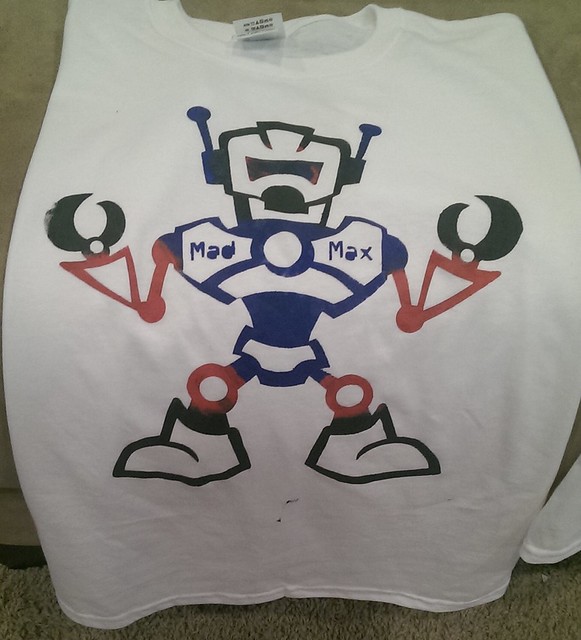
I've been on a T-shirt making kick lately. I think its because it's a craft that almost anyone can do. When my nieces and nephew were visiting we decided to do freezer paper T-shirts. I asked them and my kids what they wanted on their tshirts. I designed the layout in Cricut design space and cut out the freezer paper with my Cricut Explore (remember to put the freezer paper shiny side down on the mat).
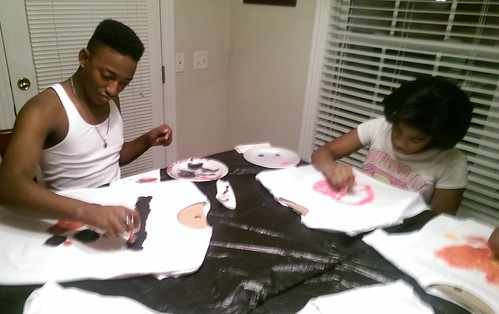
For those who don't have an electronic paper cutter you can totally do this project by printing or drawing your design on the dull side of the freezer paper and cutting out the design with an exacto knife. Remember to keep the small pieces that will give your design definition (like the inside circles from letters)

Here's what you'll need to do your own freezer paper shirts:

  1. Freezer Paper (found near the foil in your local grocery store)
  2. Electronic paper cutter (like a Cricut) or an exacto knife
  3. T-shirt or other garment/item of your choice
  4. Fabric paints (I use the weekly 40% coupon at Hobby Lobby to cut costs here)
  5. Sponge brushes (found in the craft section of your local discount or craft store)

Once you have your design cut out of the freezer paper just iron the freezer paper to your T-shirt (no steam), shiny side DOWN - if you mess this part up you'll ruin your iron (ask me how I know)!
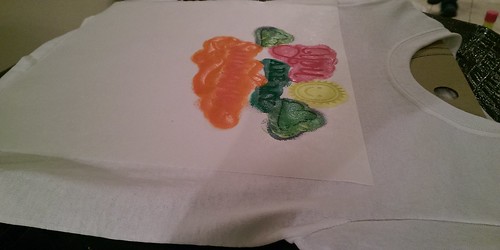
After you have the freezer paper completely ironed down, put a piece of heavy cardboard inside of the shirt so that no paint bleeds through on the back of the shirt.

Now you can use a sponge brush and T-shirt paint to color in the stencil. One tip here, don't try to do a really heavy coat. It's better to do light coats on top of each other (no need to dry between coats) so that you don't have unevenly painted areas.

Lay the T-shirt aside to dry for a few hours. When the paint is dry to the touch pull off the stencil (don't forget to remove the little pieces too). As long as the shirt is dry to the touch it is ready to wear. However, you shouldn't wash it for at least 48 hours (or for whatever length of time is listed on the fabric paint package). When you do wash it turn it inside out and wash with like colors.

I hope you have as much fun making your shirts as we did! Toodles!


Thursday, August 14, 2014

Evening Gown - Creation, Elation and Destruction


My husband and I had free tickets to attend the NAACP Image awards viewing party (Thanks to my awesome employer - Walmart) . I was so excited to be able to see Gladys Knight and Patti LaBelle in concert! I decided that this would be a great opportunity to sew my gown (Simplicity 2253). We live in a small town so I didn't want to just buy one - besides...where's the fun in that!? :)

I picked out a beautiful seafoam green stretch satin with a small amount of sheer, sequined fabric for the bodice. As soon as I purchased everything I caught...THE FLU - Ugh! Needless to say I was out of commission until the day before the event, but I wasn't going to let that ruin my plans. I stayed up all night Friday night to finish the dress.

My husband and I had an amazing time!

One funny part of the night...and the way life just happens - at the after gathering my husband accidentally spilled whole grain mustard on the front of my dress and the stain wouldn't come out! He was mortified because he knew I had just spent hours making it. I was a bit freaked out too, but then decided that I wasn't going to let a little mustard ruin our great night.

I've decided to make it into a dressy top and will make some flowy pants to go with it (for the next special event). Toodles!


Saturday, October 13, 2012

Simplicity 1900 - Handmade Baby Doll

Hi All!

Here is my latest sewing project! I am currently eliminating junk from my diet so my clothes sewing mojo is on hiatus until I reach my goal (with the exception of transition pieces and accessories...

I used broadcloth, 8.5 X 11 sheets of felt, assorted fat quarters, embroidery floss, fiberfill, thread,eyelets and grosgrain ribbon.

So here's the cute little doll that I made for a sweet little girl.


I cut out the pattern pieces a while ago and hand embroidered her face first to see if it was going to be a successful project or a hot mess. Once I finished her face I decided to finish her up today. I took pictures of some of the steps so that you can see how she came together. I am still training myself to stop at the right points in the project to take pictures (I get so caught up in the moment that I've completed several steps before I realize that I haven't snapped any photos! So, here we go...

This is what the front body looks like after embroidering the face, putting on the hair and top stitching around and on top of the hair.


The back of the body with top stitching on and around the back of the hair.


Legs and socks sewn together.


Arms sewn, turned and stuffed.


Arms and legs basted to the body front.


After attaching the legs and arms to the front of the body I put the back and front together (right sides together) and sewed all the way around the doll, leaving a small opening for turning. After turning the doll was firmly stuffed with fiberfill and the opening was closed using a whip stitch (not as neat as a ladder stitch, but it does give "rag doll" properties to this little cutie. Since she didn't have any clothes on I just took a head shot :).


On to the clothes - this is a little A-line dress that has a front that has been separated to allow for the contrasting pleat. The arms, bottom and back closure have simple double-folded hems. The collar was finished with binding and I used heat activated hook and loop tape for the back closure. A little rectangular piece was stitched (right sides together with a hole for turning), turned, pressed, stitched closed and tied in a knot to form a bow.


Here's the cape. It was cut out of felt. Two butterflies were also cut out of two colors of felt, folded in half and stitched very close to the fold. They were then attached to the cape by stitching along the seam that was just created. The cape's closure is also heat activated hook and loop tape.


The pattern originally called for the little shoes to be closed by a loop and a button, but I thought it would be cute to make these mimic ballet slippers. To do this I inserted two sets of eyelets on each shoe, cut and sealed two lengths of grosgrain ribbon, threaded the ribbon through the slippers and tied them around the dolls feet.


Here are a few more pictures of what she looks like.


Here's what I learned...

1. I should have cut the threads between her eyes (it's visible behind the fabric) or use a thicker broadcloth next time.

2. Double check to be sure that the fabric doesn't shift when sewing the back and front together.

3. Don't make the seam allowance so wide in the shoes (they went from being almost too big to almost too small!

4. Don't be lazy...I should have used pink thread for the socks (the dark thread is showing).

5. Use a contrasting color for the top stitching throughout the hair (all my nice stitches throughout her hair are practically invisible).

6. Continue to tighten up my embroidery skills (and use stabilizer next time)!

Thanks for reading my looooooooong post!